Honda's XR75
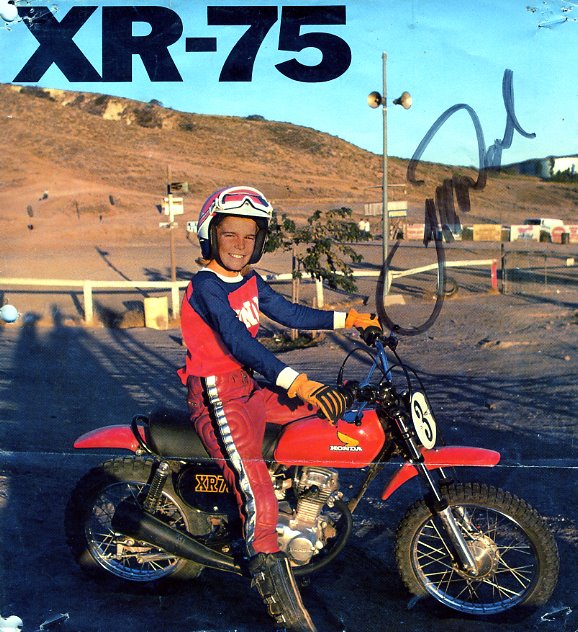 Alright, let’s talk about my favorite bike - the XR75. This one bike has had more impact on mini bikes (and my life in general) than any other bike ever made. Honda introduced the XR75 in 1973 and found worldwide success. In the 70’s, motocross was becoming huge in the United States. There were motocross tracks everywhere and you could ride almost anywhere you wanted. In grade school, I remember half of the kids rode or raced motocross, and the majority of them had XR75s. It took me and my brothers a little longer than most to come up with our first XR, but we were persistent. Chris, Brent and I were heavily into BMX racing and our parents weren’t ready to make the shift to MX just yet. Each of us had a few expensive BMX bikes, a sidehack, go-karts, and a number of other toys that were keeping our parents on the edge. Plenty of hours were spent riding friends and neighbor’s XR’s, but ours somehow eluded us.
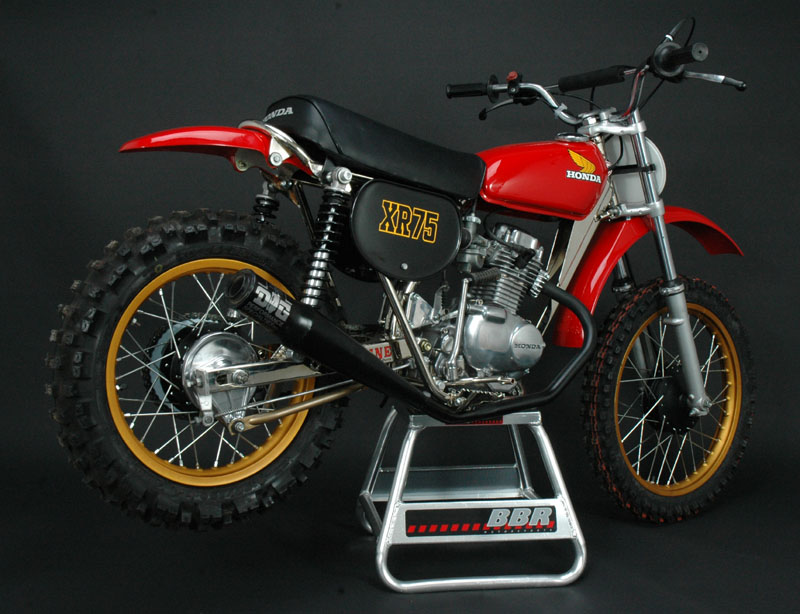
Our cousin, Brian, owned a BMX/Motorcycle shop (N.K. Cycle) in Poulsbo, WA. Every year we would make an annual trek to check out the latest BMX parts and ride his trick XR’s. As a matter of fact, the first time I ever heard the word “trick” was at his shop in the 70’s. One of the times we went to visit Brian he had a ‘77 DG package racer XR75 with all of the trick parts for the time. It had a Powroll 116 stroker motor, gold DG everything, Fox shocks, and Betor forks. It was almost too much for a twelve year old to comprehend. That was it! I was going to build an XR no matter what. Since I had access to BMX bikes, but not to a bunch of money, I figured I could trade my way into my dream ride. We put the word out in our Junior High school that we were looking to trade for an XR75. It didn’t take long. One of our buddies had just gotten a new YZ80, so he was willing to trade his XR75 for a DG Rooster BMX bike. We loaded the bicycle up and headed to his house to make the swap. When we arrived we found a gray 1974 XR with a DG pipe. Perfect. With the XR safely in our garage the real fun began. We immediately disassembled it and painted it red. I remember jumping on my JMC BMX bike and riding down to Ace Hardware to buy a can of Krylon red spray paint. The plan was to make the bike look like Marty Smith’s factory Honda before unveiling it to the neighbor kids. Other than eating a set of points that first day, and having the neighbor yell at us for making too much noise, it was a glorious day. It didn’t take long before every kid in the neighborhood had a motorcycle. Some of the best races I have ever been in occurred on that residential neighborhood track.
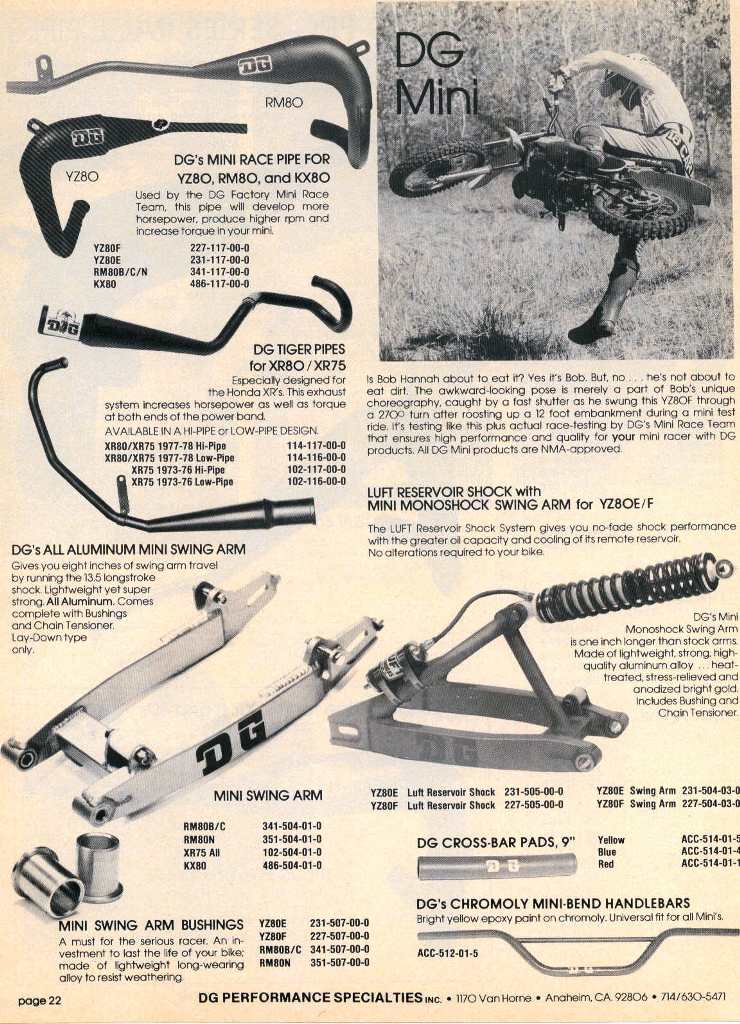
At our BMX shop, we used to carry a magazine called Minicycle/BMXaction that had all of the cool parts and stories from the day. There were tons of companies making parts for the little XR. Jeff Ward’s dad had a company called J.W.R.P. They made frames, swingarms, pipes, ignitions, etc. Red Line Engineering also made a frame early on for the XR75 (before BMX consumed them). Dave Miller, of DMC fame, had a company called Miller Mano that cranked out some super trick one-off XR parts. There was also PK Racing, the Vulcan Bros, Burnsworth Racing, and of course DG Performance. DG was the king of all things aftermarket for MX. They made a monoshock frame and swingarm for the XR, plus they carried every imaginable hop-up part ranging from seats, to heads, and forks. DG had every part you could want, and made each one of them cool. All of the best riders of the day rode for DG and used their products. You couldn’t go anywhere in the 70’s without seeing a DG logo. Somebody at DG was a marketing genius and had a huge passion for all things MX. My brothers and I respected that a lot. Here's a DG catalog page from 1978 (courtesy http://www.vintagefactory.com/)
When the two stroke MX bikes started taking over in the late 1970’s, Honda started selling the XR75 as a playbike. The after market companies that continued to produce parts for the XR75 started gearing their items toward adults and the playbike market. Eventually, the two-strokes completely took over the racing scene, and the BBR brothers followed. I caved in and bought a 1979 YZ80 to keep my racing dream alive, and we soon owned a stable of two-strokes. But just like many of the racers, we continued to ride XR’s in the backyard for fun. Chris was always more interested in play riding, so he upgraded to a 1978 XR75. He saved his money, and bought all of the latest DG performance parts that were available at the time, and did every modification possible. At some point, he decided he was going to build a complete single shock frame for his XR, so at the age of twelve, with no one telling him he couldn’t do it, he started on the frame in Junior High shop class. It was a two year long project that we both worked on together, but Chris was the one who kept pushing until it was completed. I will admit that I gave up a few times along the way. When I went off to High School the next year, I had machine shop class which gave me access to a milling machine for the first time. Chris gave me some drawings of a linkage setup he was working on for the bike. After two weeks of class, the teacher (Don Sharp) thought we were ready to start working with the shop equipment. He showed the class the “sheetmetal box” project that we would all be working on for the rest of the quarter. I raised my hand and said, “Hey, can we work on our own stuff?” He laughed and asked, “What do you have in mind?” “I want to make a linkage for a motorcycle me and my brothers are working on”. I showed him the drawing and he just laughed at me. “Boeing couldn’t make that set up”, he said. “It is too complicated”. So I told him that it would sure be a better project than just a sheetmetal box! Amazingly, he let me work on it. I spent the next year working on that linkage setup. That is when I realized I could crank out billet parts. It took more than a few tries, but by the end of the year I felt like I could make anything. When Chris showed up for high school machine shop the next year, the teacher didn’t bother asking him if he wanted to make a sheetmetal box. He just let us do our thing. I worked on the billet stuff, and Chris started to focus on the frame and motor. Even though Brent was in college then, he showed up for class a few times to make some parts. He would tell the shop teacher that he was a “new student”, and then would work with us. I think Brent is the only person in history to get high-school detention without even being a real high-school student. Too funny!
Once the frame and linkage were complete we needed a shock, so we gave the guys at Works Performance a call and they cranked one out for us, to our specs. Chris sprayed the frame with some left over Plymouth R6 red paint from Brent’s drag-car, and then Brent pinstriped the frame 70’s style to finish it off. When the bike was complete, we loaded it up and headed out to our local track (S.I.R.) to race it. This was the first time I remember running into mini-dads. I had never heard so much whining in my life about rules, points, and inspections, etc. I lined up on the gate with 39 yellow two strokes, and me on the lone red 4-stroke. I ended up going 6/5 for sixth overall. I remember being a little disappointed, but looking back it was a small miracle. Show me a couple of kids that built their own bike from scratch, raced it, and put thirty other guys behind them. Check out the video of the bike here:
We never stopped riding and modifying XR75’s. When they morphed into the XR80 and 100, it just gave us more to work with. Eventually, the whole movement moved into the Langtown/ScrewyDilla type backyard races (which is a whole story by itself). As big as these races, and several others, became it just goes to show that the whole country was riding XR’s for fun. As we got older and were racing big bikes, we would continue to ride XR’s in the back yard as much as we could. There was a time when you could pick a decent XR up at a garage sale or swap meet for a hundred bucks. Usually you could just swap out the points and they ran like new. At one point, our parent’s backyard shop looked like an XR junkyard. People were just showing up and dropping off XR’s or abandoning them on our backyard track. At last count we had been through more than two hundred of them! As a matter of fact we are still going through XR’s – We just got a 2009 CRF100 last week (which is just an updated XR100). In our spare time, we like to restore all of the old rare XR’s, and related parts, that we could only dream about back in the day. A lot of the fun of the restoration is the hunt to find the old bikes and parts. If you have any old XR parts or vintage BMX parts you want to sell, trade, or donate to the BBR show-room, please drop us an email at ‘sales@bbrmotorsports.com’.
OK, for all you XR nuts out there, here are a few of the rare XR75’s we have restored over the years:
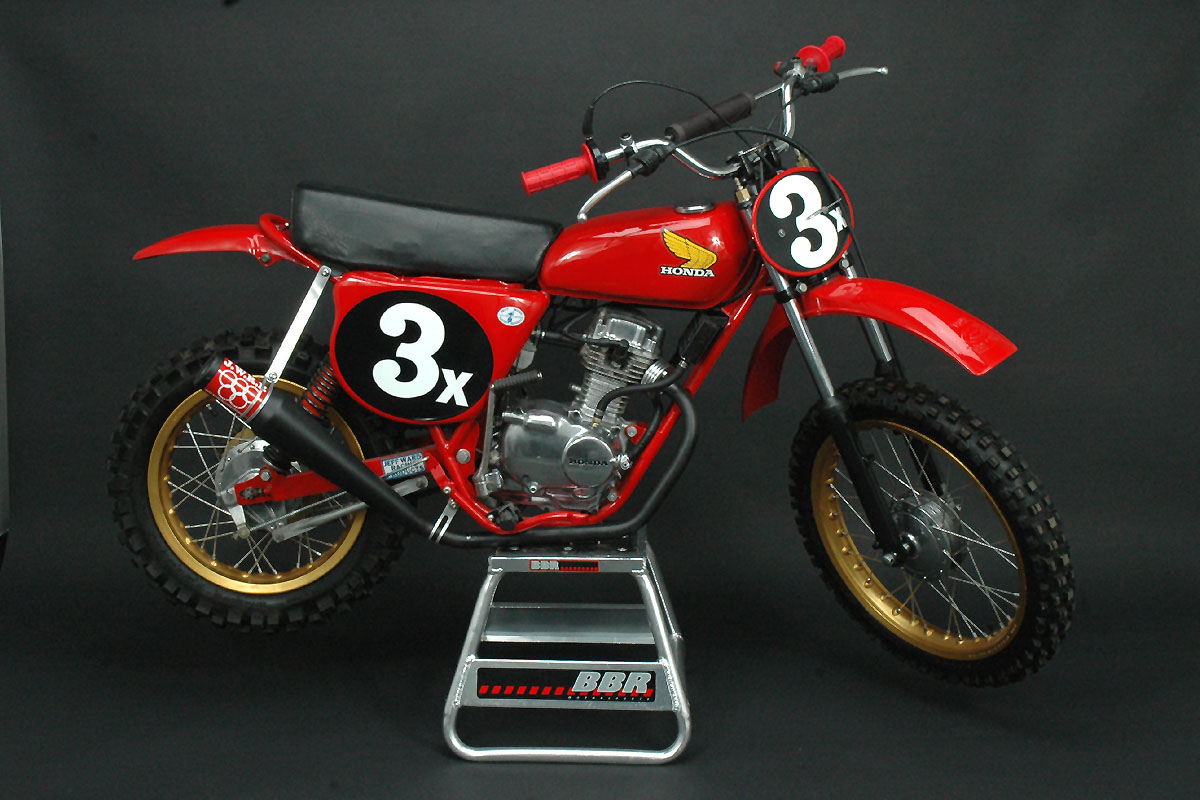
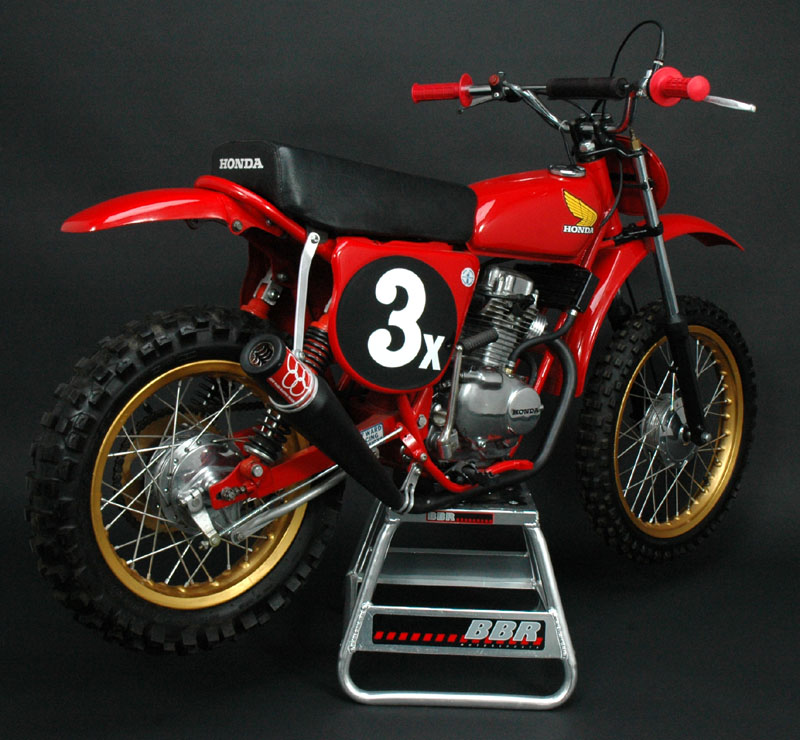
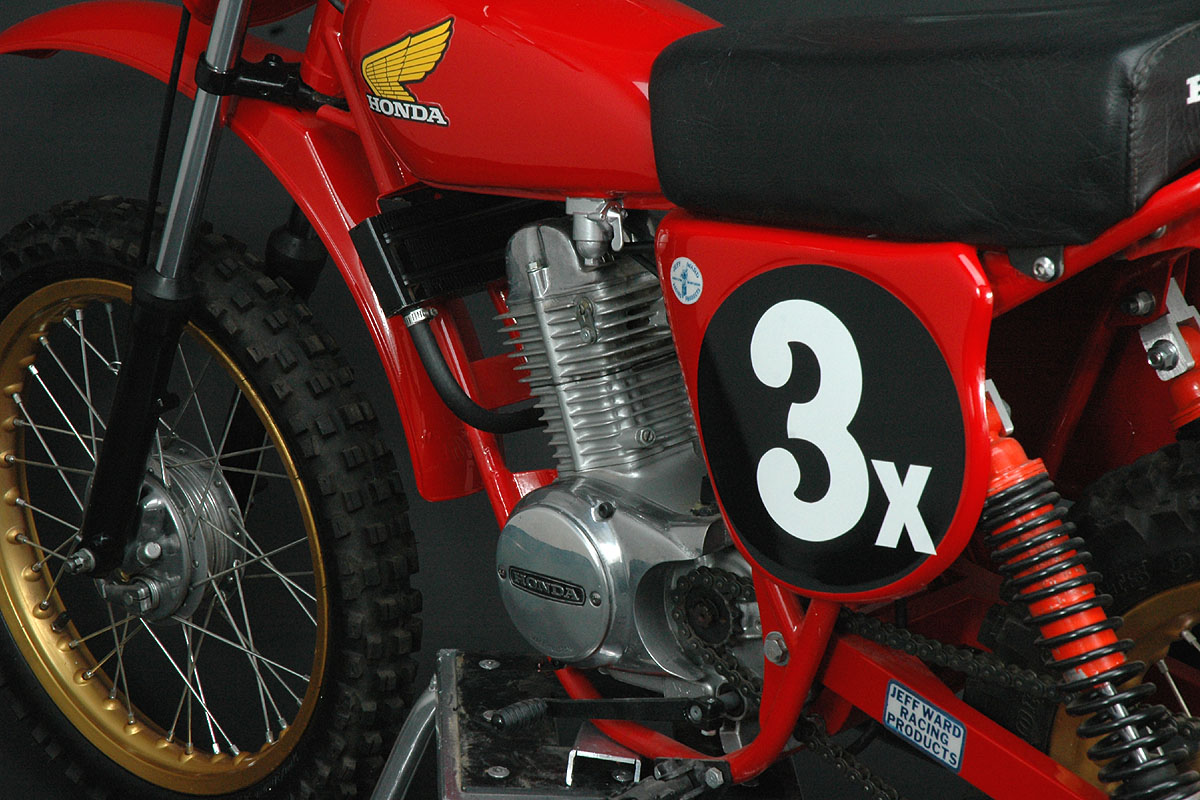
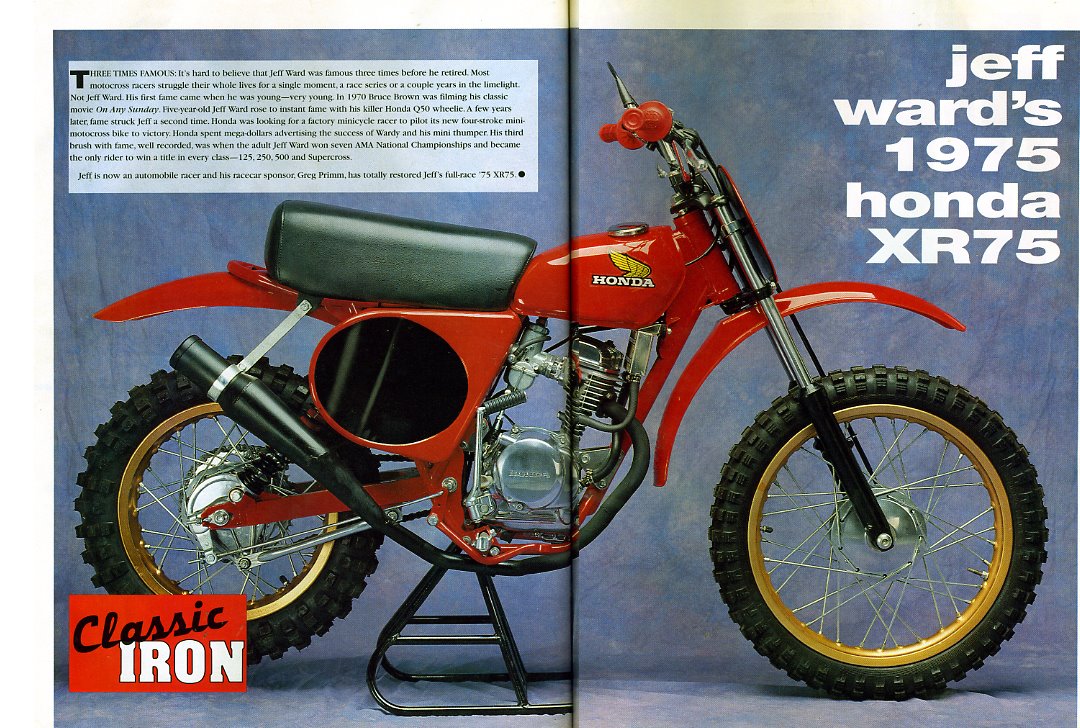
The first one is the Holy Grail of XR75's…The Jeff Ward Racing Products 1975 XR75. It has a chrome-moly frame and swingarm, Curnut shocks, 82cc piston, J.W.R.P. cam and ignition, 22mm carb, Akront rims, CR125 side plates, and the famous 3x number.
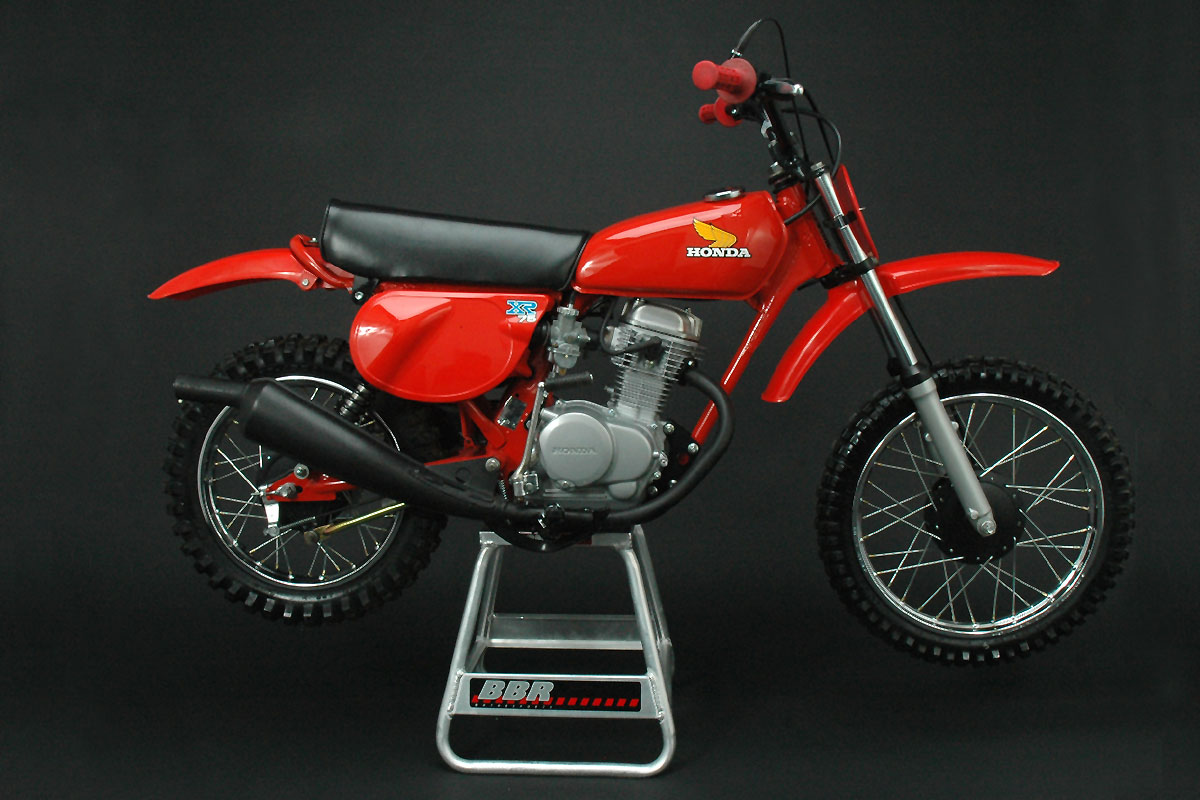
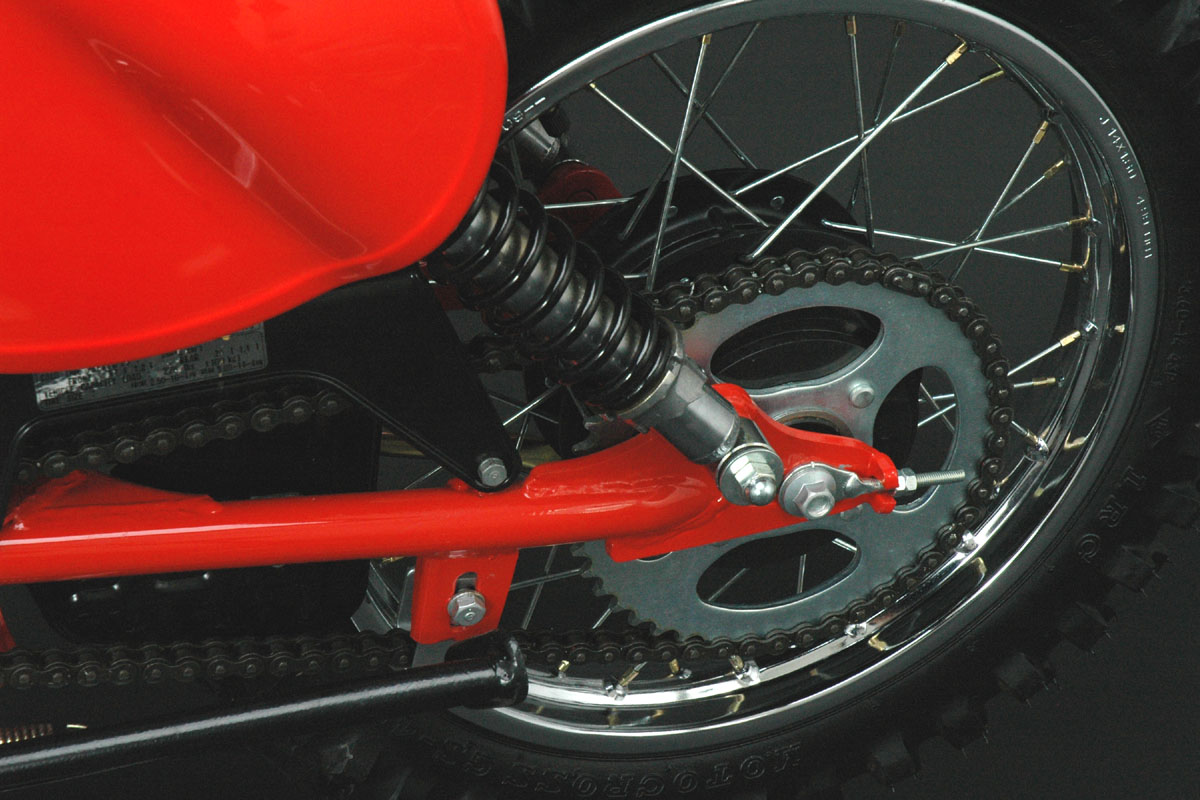
The second bike is a 1976 Red Line Engineering XR75. It has a nickel plated chrome-moly frame and swingarm, Ceriani forks and clamps, 17” front wheel, P.K. Racing ignition and 82cc piston, DG pipe, Mini-Mudder front fender, and Pro-Tec chain guide.


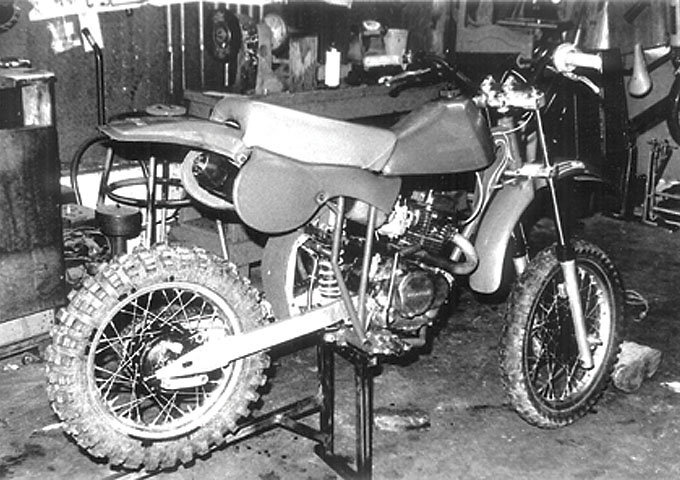
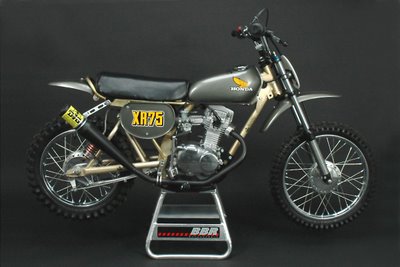
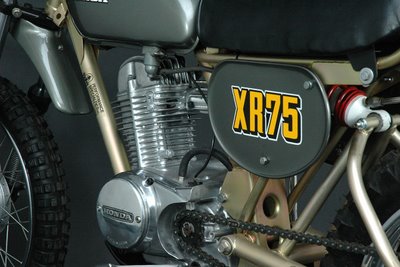
The third bike is a 1974 DG mono-shock XR75. It has a gold cad-plated chrome-moly frame and mono-shock swingarm, Luft shock, Vulcan Bros. forks, DG Performance piston, head, cam, and porting, 22mm carb, J.W.R.P. ignition, DG pipe, and DG valve cover.

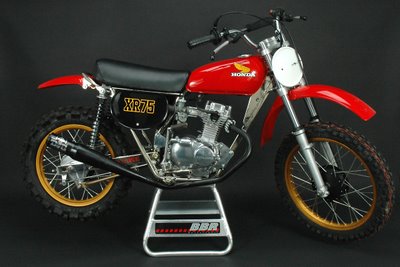
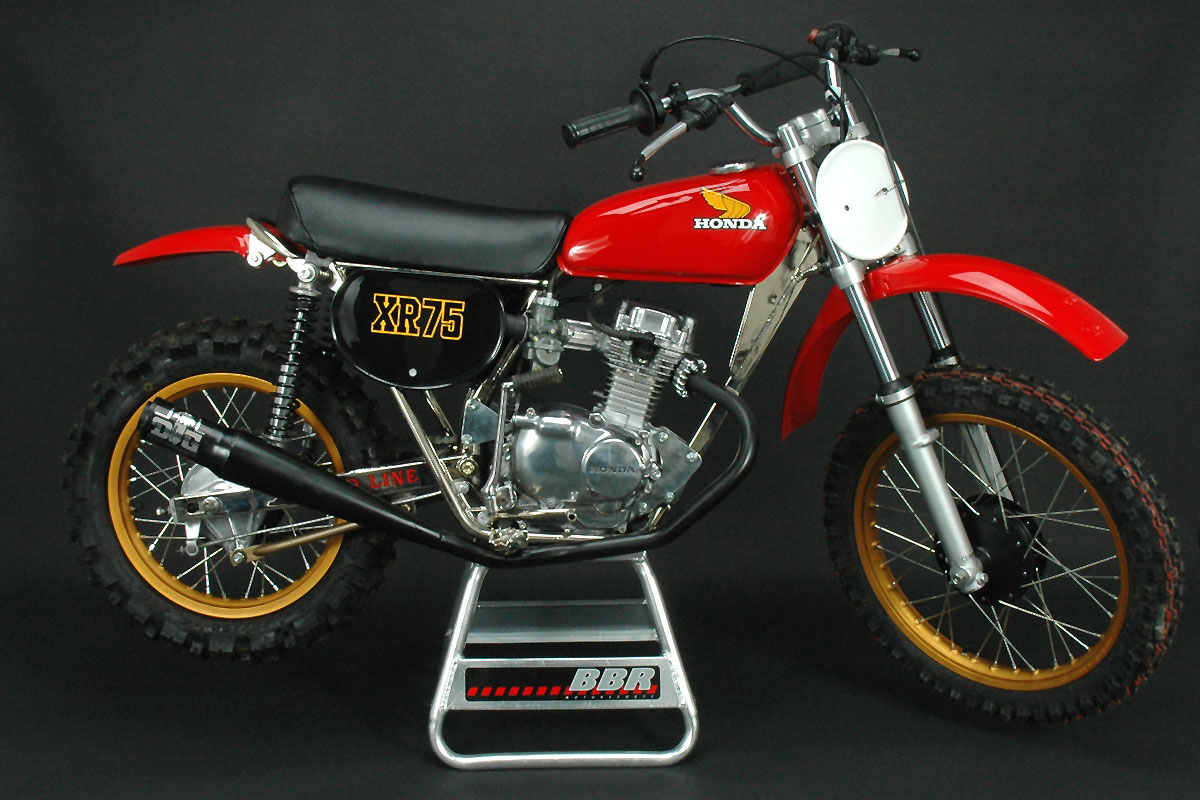
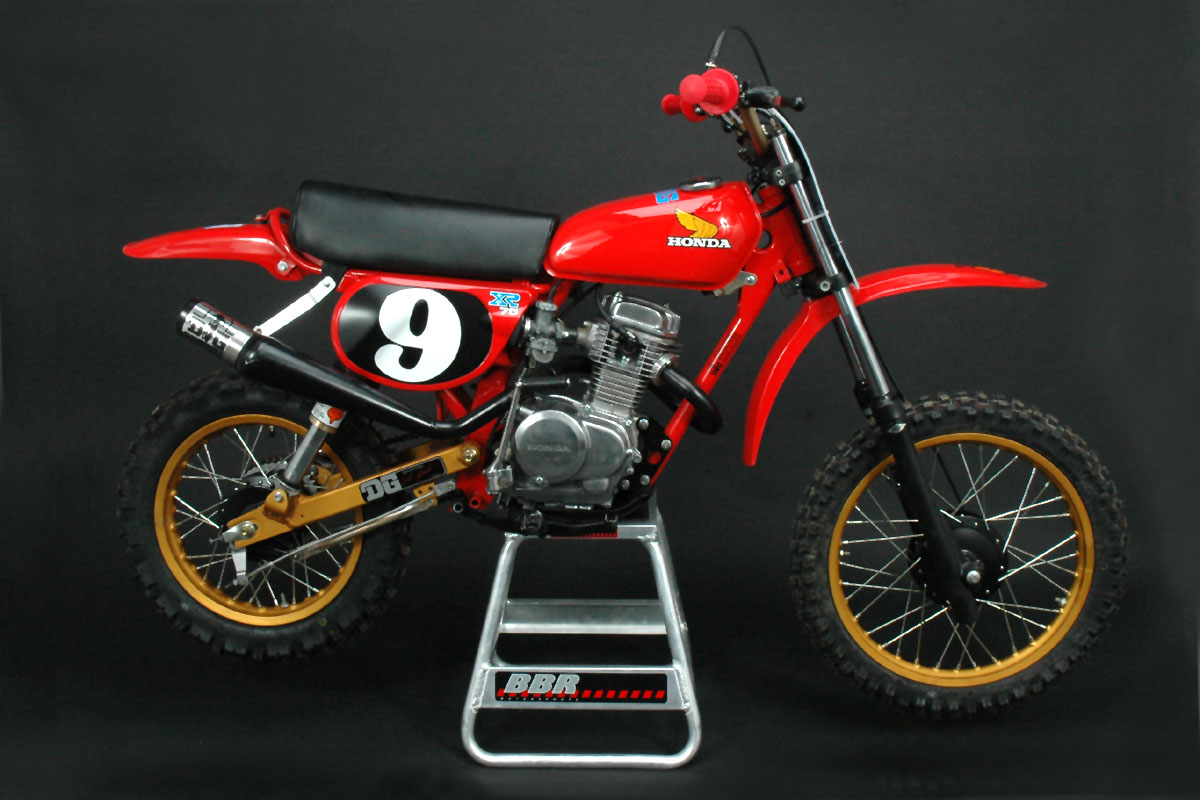
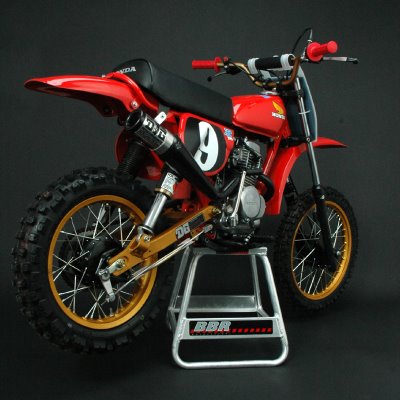
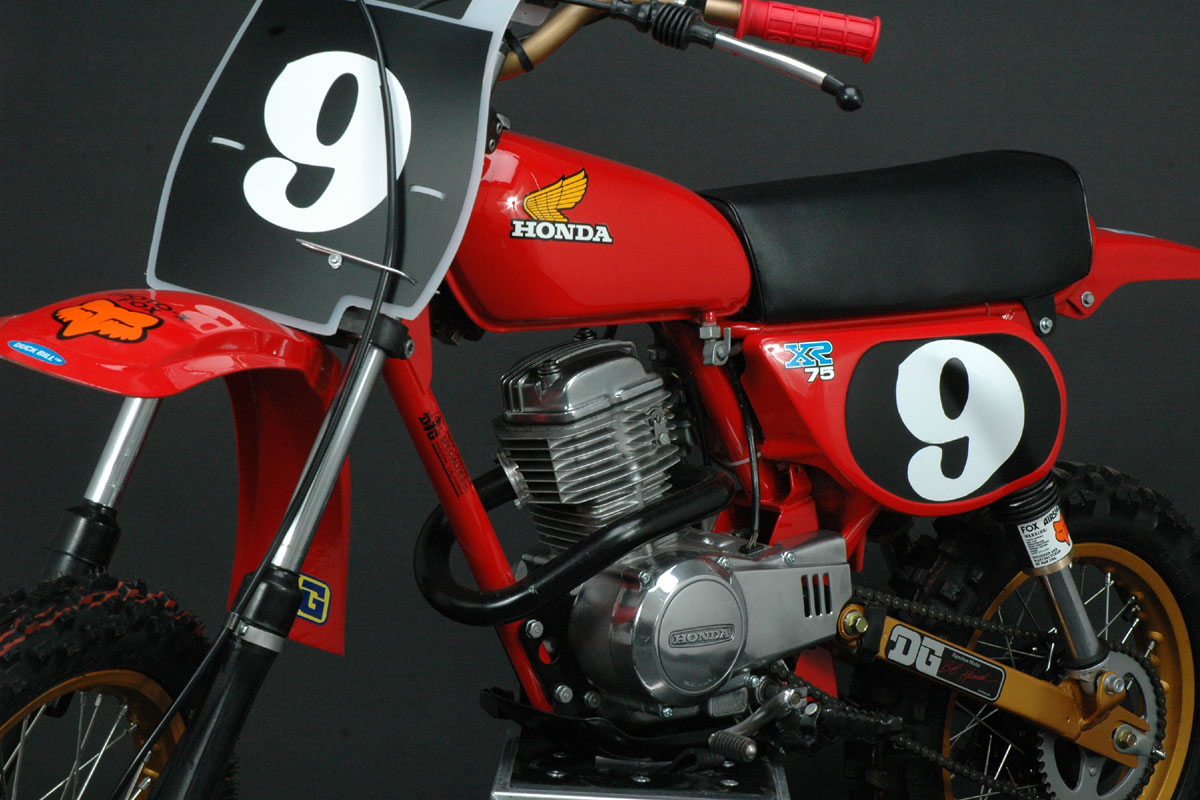
The fourth bike is a 1978 DG package racer. It has a DG chro-moly frame, DG gold anodized swingarm, Fox 13.5” air shocks, Betor forks and clamps, D.I.D. gold rims, Duck-bill front fender, Powroll piston and cam, Answer mini bars, J.T. Supercross number plate, and DG up-pipe.

The third bike is a 1974 DG mono-shock XR75. It has a gold cad-plated chrome-moly frame and mono-shock swingarm, Luft shock, Vulcan Bros. forks, DG Performance piston, head, cam, and porting, 22mm carb, J.W.R.P. ignition, DG pipe, and DG valve cover.
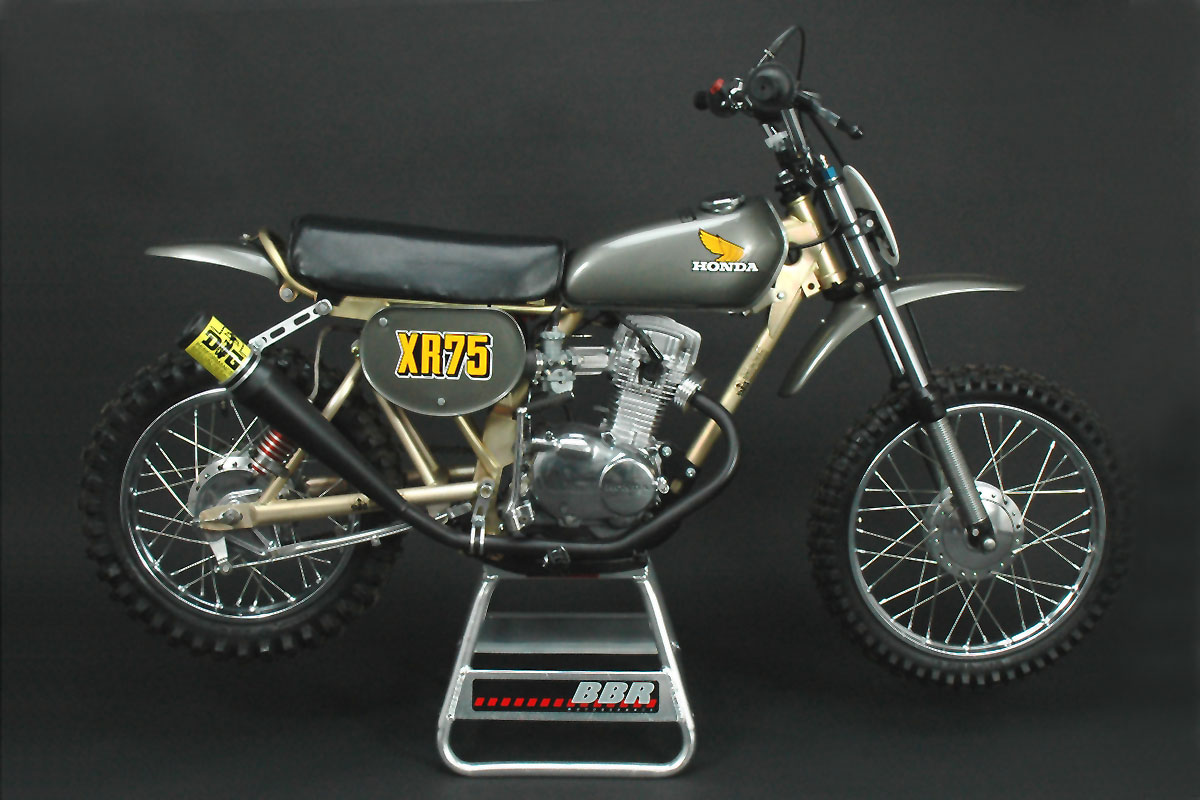
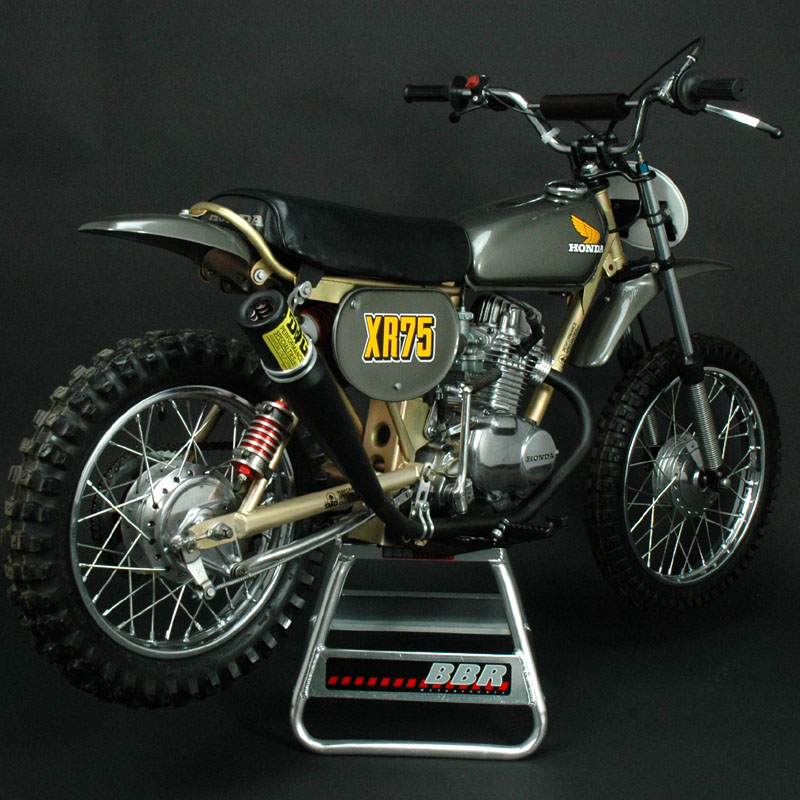
The fourth bike is a 1978 DG package racer. It has a DG chro-moly frame, DG gold anodized swingarm, Fox 13.5” air shocks, Betor forks and clamps, D.I.D. gold rims, Duck-bill front fender, Powroll piston and cam, Answer mini bars, J.T. Supercross number plate, and DG up-pipe.
The fifth bike is a bone stock 1978 XR75. This bike was assembled about 10 years ago from N.O.S. parts when you could still get them from Honda. We ordered every part number for an XR75 and almost everything showed up. Basically, this a brand new bike one bolt at a time.

Blast from the Past
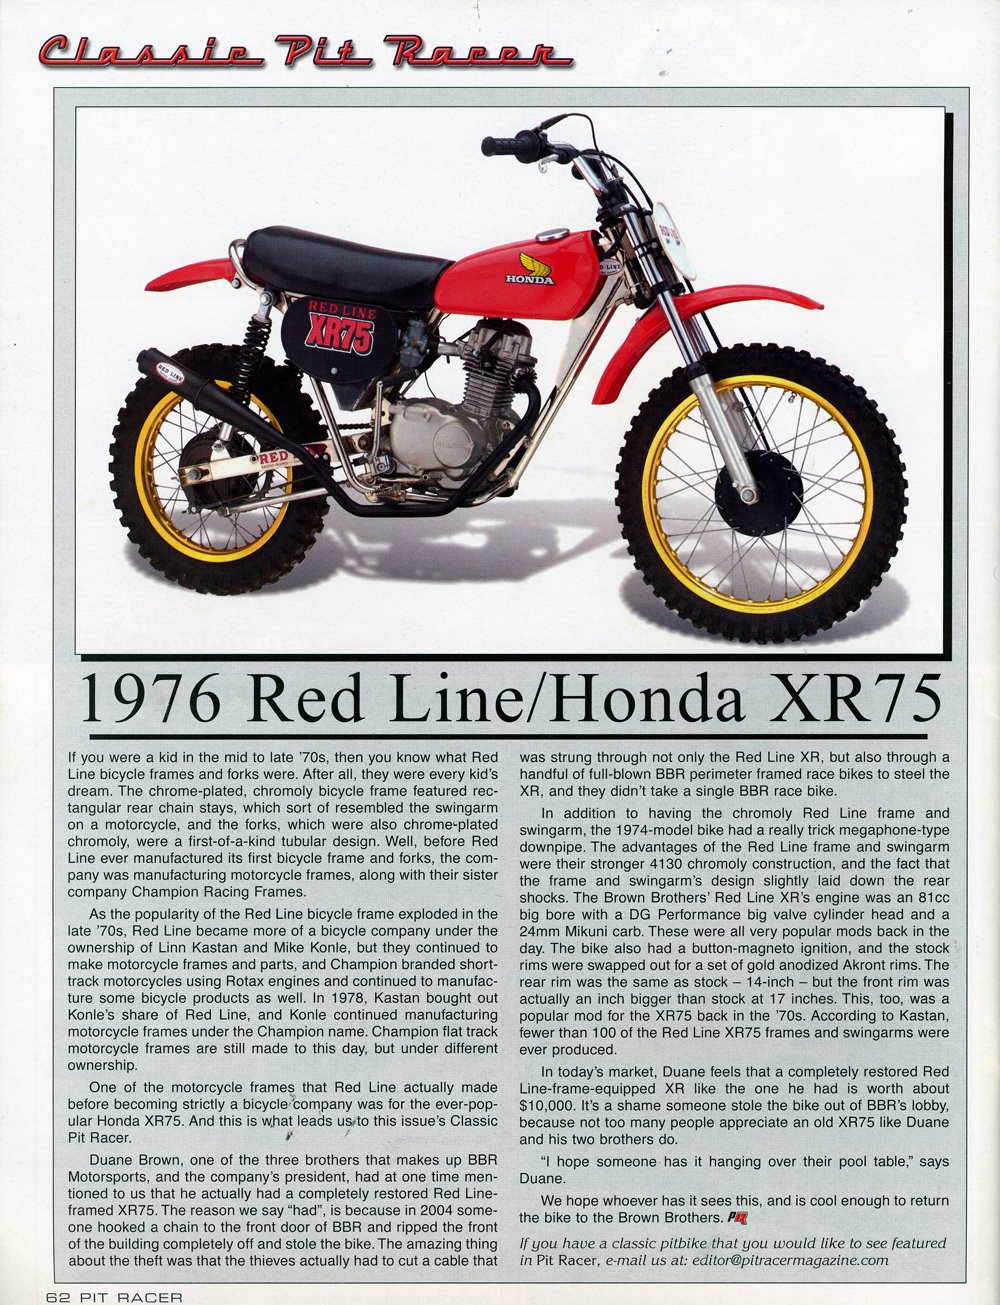
This week’s blast from the past comes from the March/April 2006 issue of Pit Racer magazine with Jeff Hain and the gang. On the last page of every issue they did a column called Classic Pit Racer. They did a feature on our Red Line XR75 that was stolen a few years back. It was stolen by some “victim of society” who has been “dealt a bad hand” and for whom “the government isn’t doing enough to help”, and has been “repressed by the man” and whose “parents do not love him”. He hooked a chain to the front door and pulled the whole front of the BBR shop off (guess he is good at something). He then cut a cable that was strung through a dozen bikes and stole the Red Line XR. Can’t blame him for wanting it, I guess, but it seems his method of getting one is a little different than how we would do it. It was heartbreaking to know it was gone, and we have not seen it since. We found another Red Line XR years later, that you heard about earlier in this story, but I had to trade my first born for it. Pit Racer also covered one of the DG Monoshock XR’s we had a few years ago. It is now part of a vintage collection in northern California.

I also found this great Jeff Ward XR75 article in Motocross Journal from Jimmy Mac and the gang. This bike is sitting in the Primm Museum. If you ever get a chance to visit them in Las Vegas, it is one of the most incredible places in the MX industry.
Question of the Week
“I see you guys are into XR75s. Do you sell parts for them or know where I can get some? I’m restoring a ‘73 XR75, and am having problems finding everything I need to complete the project.” Barney (in Tucson)
Hey Barney, love the ‘73 with the duel red stripes on the tank. We really don’t sell anything for the XR75’s but there are some good companies that we have run into over the years that do. At the top of the list is Scott Steger over at http://www.vintagefactory.com/. Scott is the king of vintage bike restoration and nobody has more fun and passion doing it than Scott and his crew. If you have a complete bike you want to send off to have restored, Vintage Factory is the place. Check out his great website for cool old vintage photos, a swap meet, and streaming videos. Scott also has almost every vintage sticker you can imagine, so check his site out. Another great place to find all of the little detail items that separate an amateur restoration from a show winner can be found at http://www.re-mx.com/. They have gas caps, levers, seats, etc, and they are friendly guys. Another great company for performance parts for the XR75 are http://www.xrminiracer.com/. Alex, the owner, has been racing and riding XR75’s in SoCal from the beginning. He has all of your favorite pipes from back in the day and many more items. Check ‘em out. Last but not least is http://www.powroll.com/. These guys have been at it since before I was born and are still making XR75’s go fast. Give “Powroll Pam” a call and she will hook you up with the right parts. Hope this helps! Duane
OK, that’s it for this week. Thanks for helping us live the dream!
Duane
posted by DuaneBrown at
9:10 AM
![]()